 (Image via
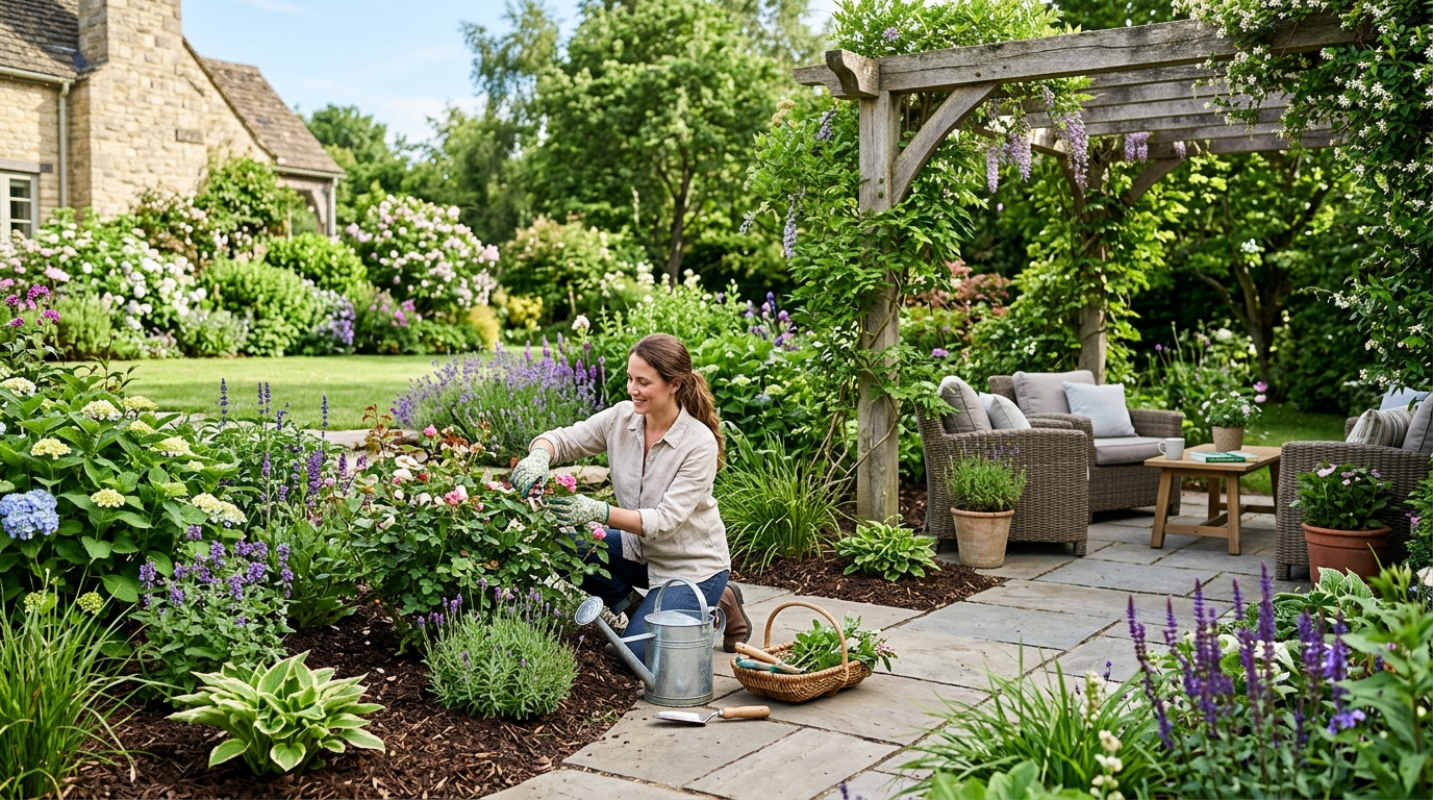
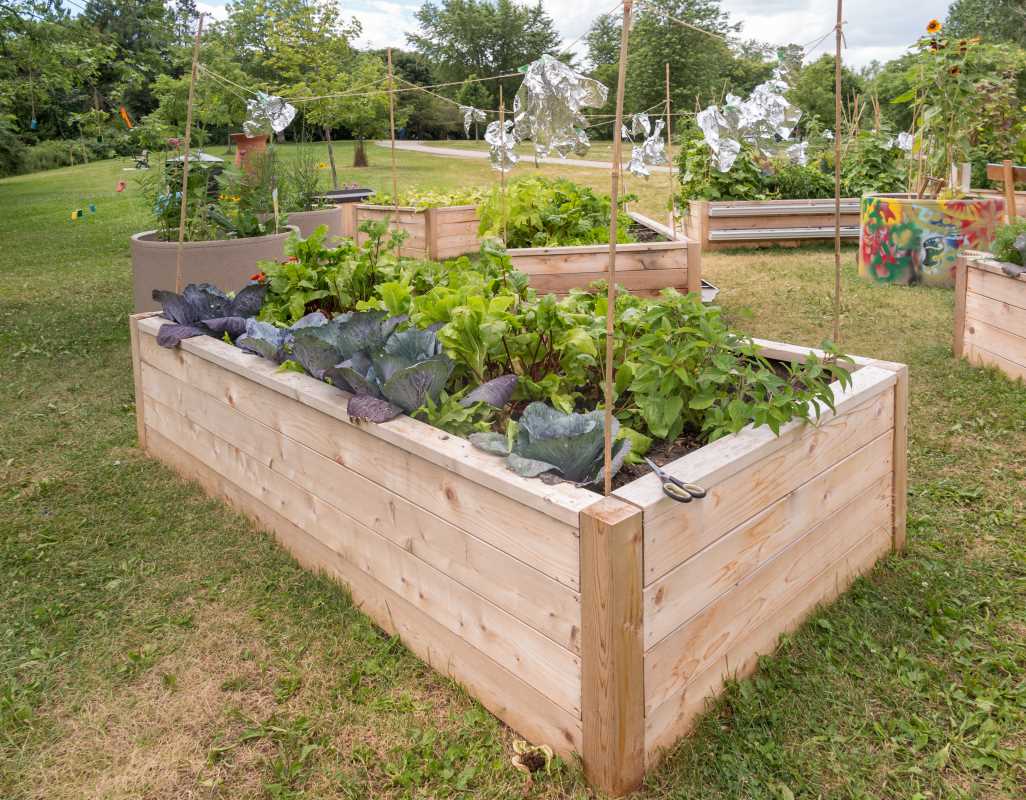
An elevated garden box can be a game-changer for any gardener, offering benefits like better soil control, fewer weeds, and easier access that saves your back. It’s a neat, organized way to grow your own vegetables, herbs, or flowers. The real secret to success, however, lies in building a structure that can withstand the elements and the test of time. A well-built container will not only look great but will also provide a stable, healthy environment for your plants for many seasons to come. This guide will walk you through the essential steps, from choosing the right materials to putting it all together, ensuring you create a productive and durable gardening space you can enjoy for years.
The Advantages of an Elevated Garden
Gardening in above-ground containers offers several key benefits over traditional in-ground plots. First and foremost, you have complete control over the soil. You can fill your structures with the perfect mix of high-quality compost, topsoil, and other amendments, creating an ideal growing medium that might be much better than your native soil. This is especially helpful for people with rocky, sandy, or heavy clay soil.
These containers also provide excellent drainage, which prevents plant roots from becoming waterlogged after heavy rain. The soil in an elevated box warms up faster in the spring, allowing you to start planting earlier in the season. Not to mention, the defined edges create a physical barrier against encroaching weeds and pests like slugs. The added height also makes planting, weeding, and harvesting much more comfortable, reducing the strain on your back and knees.
Choosing the Best Materials for Longevity
The material you choose for your frame is the single most important factor in determining how long your structure will last. You need something that can resist rot, moisture, and pests.
Wood: The Classic Choice
Wood is the most popular material for its natural look and ease of use. However, not all wood is created equal.
- Cedar and Redwood: These are the top choices for durability. Both woods contain natural oils and tannins that make them inherently resistant to rot and insects. They are more expensive upfront but can last for 15-20 years or more without any chemical treatments.
- Douglas Fir and Pine: These are more budget-friendly options but are not naturally rot-resistant. To make them last, you would need to use a non-toxic wood sealant or liner. Untreated, they might only last for a few seasons.
- Pressure-Treated Wood: Modern pressure-treated lumber is treated with copper-based preservatives and is considered safe for food gardens by many experts. The chemicals are designed to bind to the wood and not leach significantly into the soil. However, some organic gardening certifications prohibit its use, so if you are aiming for official organic status, it's best to choose an untreated wood.
Other Durable Materials
Wood isn't your only option. Several other materials offer excellent longevity and unique aesthetics.
- Galvanized Steel: Metal containers are extremely durable, will not rot or warp, and can last for decades. They absorb heat, which can help warm the soil in cooler climates. Keep in mind that in very acidic soils, the protective zinc coating can corrode more quickly over time.
- Composite Wood: Made from a mix of recycled plastic and wood fibers, composite decking boards are another long-lasting option. They are resistant to rot, moisture, and insects and require zero maintenance.
- Concrete Blocks or Natural Stone: For a permanent, rustic look, cinder blocks or stones are an excellent choice. They are indestructible and will last a lifetime. One consideration for hot climates is that these materials can absorb and retain a lot of heat, which may significantly increase soil temperatures.
Step-by-Step Construction Guide
Once you've chosen your material, it's time to build. A standard size for a garden box is 4 feet wide by 8 feet long, which allows you to reach the center from either side without stepping on the soil. A depth of 10-12 inches is sufficient for most plants.
1. Prepare the Site
Select a location that receives at least six to eight hours of direct sunlight per day for most vegetables and flowers. Clear the area of any grass, weeds, or large rocks. Use a shovel to level the ground where the frame will sit. An even surface is crucial for a stable structure.
2. Cut Your Materials
For a 4x8 foot box using wooden planks, you will need two 8-foot boards and two 4-foot boards. If you are using 12-foot boards, you can cut one in half to get two 6-foot pieces, and cut the other into one 8-foot piece and one 4-foot piece, then use the leftover from the first board to get your second 4-foot piece with minimal waste. The height of the boards will determine the depth of your container.
3. Assemble the Frame
Lay out your boards in a rectangle on a flat surface. The simplest way to join the corners is with galvanized deck screws.
- Drill pilot holes to prevent the wood from splitting.
- Use at least three 3-inch screws per corner to create a strong, lasting joint.
- For extra stability, especially on longer structures, you can add a 4x4 post to the inside of each corner, screwing the planks into the posts.
4. Position and Secure the Bed
Move the assembled frame into its final position. Use a level to ensure it sits evenly on the ground. Should one side be higher than the other, dig out a little soil from under the high side until the frame is level in all directions. This prevents water from pooling in one end.
5. Line the Bottom (Optional but Recommended)
Before filling your container, lay a layer of cardboard or several layers of newspaper on the ground inside the frame. This will smother any grass or weeds underneath and will decompose over time, adding organic matter to your soil. Avoid using landscape fabric, as it can prevent beneficial earthworms from entering. To deter burrowing pests like gophers or moles, you can staple a layer of hardware cloth to the bottom of the frame before placing it.
Filling Your New Garden Box for Success
Filling a large container can seem daunting, but you don't need to use 100% expensive bagged soil. A layered approach called Hugelkultur can save money and build incredibly rich soil over time.
Start by placing logs, branches, and other woody debris in the bottom third of the box. This material will slowly break down, releasing nutrients and acting like a sponge to hold moisture. A common issue with new Hugelkultur beds is initial dryness, as the wood absorbs water before it starts to decompose. To help with this, make sure to pack soil and compost into the crevices between the wood pieces. Next, add a layer of compost, grass clippings, and leaves. Top off the final third with a high-quality soil mix, typically a blend of topsoil and compost. A good ratio to aim for is 60% topsoil and 40% compost.
Maintaining Your Bed for a Long Life
A well-built structure requires minimal maintenance. For wooden frames, you can apply a non-toxic, plant-safe sealant every few years to extend their life. Each spring, you will want to top off the container with a fresh layer of compost to replenish the nutrients used by last year's plants. The soil level will naturally sink over time as the organic matter decomposes, so adding new material is essential. By choosing durable materials and using solid construction techniques, you can build a garden box that will be a productive and beautiful feature of your yard for many years.